
Telescopic rods are one of the best tools for tanago fishing, micro fishing, tenkara-style creek fishing, and compact travel fishing. They pack small, set up quickly, and let you explore tiny water without carrying a full-size rod case.
But because the rod is built from many nested sections, it is important to extend, collapse, and dry it correctly. If a section gets stuck, do not force it. Most problems can be diagnosed by taking the rod apart, checking the direction of each section, and rebuilding it in order.
This guide was inspired by a real Sao Tabi customer question. The customer sent a photo of a stuck middle section, and the photo suggested that two sections may have been installed in the wrong direction. The process below shows how to check that safely.
Why Telescopic Rod Sections Get Stuck
A stuck telescopic rod section usually comes from one of a few simple causes:
- A rod section was inserted in the wrong direction.
- The sections were extended with too much force.
- The rod was collapsed from the tip instead of from the thicker lower sections.
- Dirt, grit, or moisture was trapped inside the rod.
- The rod was stored wet after rain, creek fishing, or accidental water exposure.
With a fine micro fishing rod, the tip section is especially delicate. Most normal rod-care problems should be handled slowly, on a table, with the sections laid out where you can see them clearly.
First: Do Not Force the Rod
If a section feels stuck, do not keep pulling, twisting hard, shaking the rod, or flicking it open. Forcing the rod can push a section tighter, damage the fine tip, or make it harder to find the real problem.
The safer method is to remove the rod sections, lay them out in order, and test the fit one section at a time.
Step 1: Remove All Rod Sections
Open the butt cap at the end of the handle and carefully remove the inner rod sections. Lay them flat on a clean towel or table.
For the Sao Tabi Pocket Travel Tanago Kit, the rod has 14 sections in total, including the handle section and the tip section. The very tip section and the second section often stay together in normal use. You usually do not need to separate the very tip by itself.
Step 2: Check the Direction of Each Section
Arrange the sections from thick to thin. On the Sao Tabi rod, each section should face the same direction:
- The front end has a black decorative line.
- The rear end has exposed carbon cloth without the decorative line.
- Every section should follow the same orientation before you reassemble the rod.
If one or two sections are reversed, the rod may feel stuck, uneven, or impossible to extend correctly.
Step 3: Start With the Thinnest Sections
Once everything is laid out from thick to thin, start with the two thinnest sections, including the tip area. Insert them into the next thicker section from back to front, then test whether they extend and lock smoothly.
You are looking for a smooth slide and a light, even lock. The rod should not need hard force.
Step 4: Test Each Section Before Moving On
Continue adding one thicker section at a time. After each section is added, test the fit again.
If a section suddenly feels rough, too tight, or misaligned, stop there. That is likely where the issue is. This step-by-step method is much safer than guessing while the full rod is still inside the handle.
Step 5: Reassemble the Rod Correctly
When every section is moving properly, put the full set of sections back into the handle and close the butt cap. Make sure the sections remain in order from thick to thin and that each section is facing the correct direction.
How to Extend a Telescopic Tanago Rod Properly
Before extending the rod, attach your line to the rod tip while the rod is still collapsed. This is easier and safer than trying to tie the line after the rod is fully extended.
Then extend the rod section by section. Use your thumb and index finger near the base of each section to guide it straight. Give each section a light, controlled lock. You do not need to twist hard or pull with a lot of force.
Never flick or whip a telescopic rod open. That can jam the sections and may damage the fine tip.
How to Collapse the Rod Safely
To collapse the rod, start from the thickest extended section closest to the handle. Use steady pressure to release that section, then move to the next one.
Work from thick to thin, one section at a time. Do not push hard from the tip, and do not try to collapse several sections at once.
Drying and Maintenance After Fishing
If the rod falls into water, or if you fish in the rain, do not close it and store it right away. When you get home, open the butt cap, remove the sections, wipe them dry, and let everything air-dry completely before storage.
Moisture trapped inside a telescopic rod can cause stuck sections, mold, bad smell, corrosion on small metal parts, or long-term damage.
Does This Only Apply to the Sao Tabi Rod?
No. This method is useful for many compact telescopic fishing rods, including tanago rods, tenkara rods, micro fishing rods, pocket fishing rods, and travel rods.
The details may differ from rod to rod, but the core idea is the same: keep the sections clean, keep them in the right order, avoid forcing the rod, and dry it fully after water exposure.
Explore the Sao Tabi Pocket Travel Kit
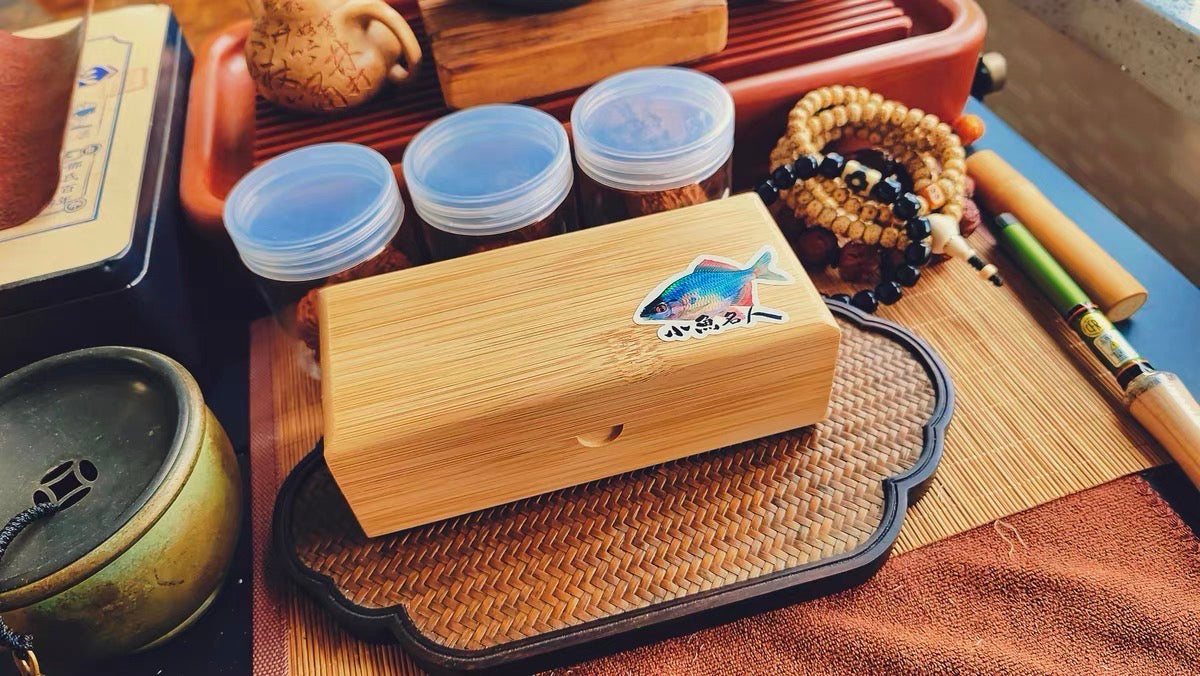
The Sao Tabi Pocket Travel Tanago Kit is built for small streams, ponds, travel fishing, and quiet micro fishing sessions. It includes a compact tanago-style rod, wooden storage box, Japanese pouch, and small-water fishing accessories.
View the Sao Tabi Pocket Travel Kit
FAQ
What should I do if a telescopic rod section gets stuck?
Stop forcing the rod. Remove the sections, arrange them from thick to thin, check the direction of each section, and test the fit one section at a time.
How many sections does the Sao Tabi rod have?
The Sao Tabi rod has 14 sections in total, including the handle section and the tip section.
How do I know if a Sao Tabi rod section is facing the correct direction?
The front end has a black decorative line. The rear end has exposed carbon cloth. All sections should follow the same direction when reassembled.
Can I flick a telescopic rod open?
No. Flicking or whipping a telescopic rod open can jam the sections or damage the fine tip. Extend it section by section with controlled pressure.
Should I dry my rod after rain or water exposure?
Yes. Remove the sections, wipe them dry, and let them air-dry completely before storage.